HOMEMADE #E-SCOOTER
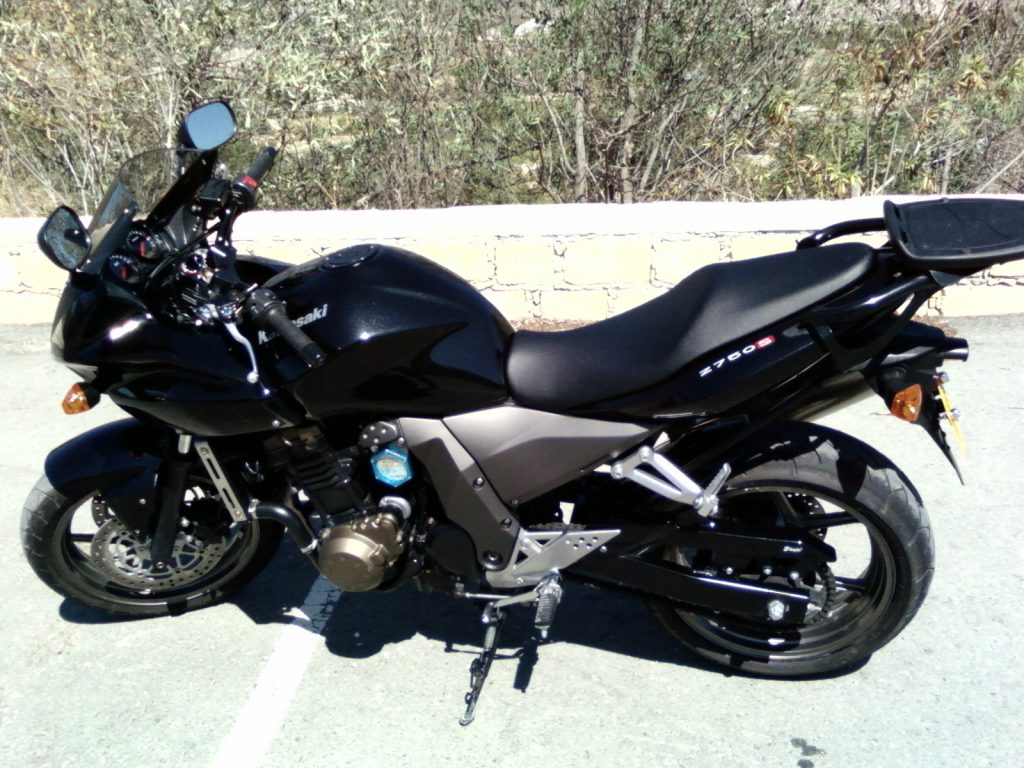
Since crashing and destroying my prized Kawasaki Z750S a few years ago, I refused to look at anything that had 2-wheels, other than a bicycle.
Then electric scooters moved from using mundane 100W motors, and on to serious power. Electric skateboards seem to have built up the excitement of this technology and paved the way for E-scooters.
Boosted have started selling their Rev and Dualtron 3 have 3600W behemoths that will do 40-miles an hour for a 50-miles (maybe). But even the modest NANROBOT D4 + 2.0 with its’ measly 2000W of motorized fun is too expensive for most of us to justify. If we want to join in it has to be a Home-Made E-Scooter.

Second-Hand
Since thousands of Dollars/ Euro/ Pounds or Yen were out of the question. It was an easy choice, or lack there-of. We had an old petrol scooter that had long lost its engine and was sitting in the corner of the garage. $200 will get you a second-hand Phat Boy Petrol scooter, with a working engine( that you do not need.
$100 for a scooter needing some work like the one we used is fine. The frame is going to be hacked up and abused anyway. The wheels and brakes need to be in good working condition.
Kit
A scooter kit from the amazon will have a 1000W motor, the controller and twist-grip throttle for under $150. This is a bare-bones kit without the battery, the most expensive part. Little in the way of instructions and all mounting brackets need to be fabricated.

Cheap Lithium-Ion
If you are unwilling to use a mountain of lead-acid batteries, the most expensive thing is the power supply. Lithium-ion batteries give out constant power even on a high load.
The kit uses a 36V motor and power supply rated for 1000W, so we used two 18V batteries in series to get to the correct voltage.

Makita make a good battery that is already 36V and eliminates all the cost savings in one swoop. At the time Einhell was promoting 2 x 4Ah 18V battery kit with charger for $100. They charge quickly and safely. That offer may never happen again from Einhell, but there is other brands that makes third-party 18V batteries at half the price.
Print a Battery Clip
Different battery clips will need to be printed for different brands. It is possible to push connectors in to the battery block, but if they jump loose you risk loosing the whole thing, or having the batteries explode on you.
The batteries clips in with 3D printed battery clip replicas, so the can be taken off easily an put on the official charger. Link to the battery connector Thingiverse.
Disclaimer: It should be obvious, but using these power tool batteries to run a home-made electric scooter will void warranties and be high dangerous if used improperly, possibly ending in death.
Other Brands of Li-Ion

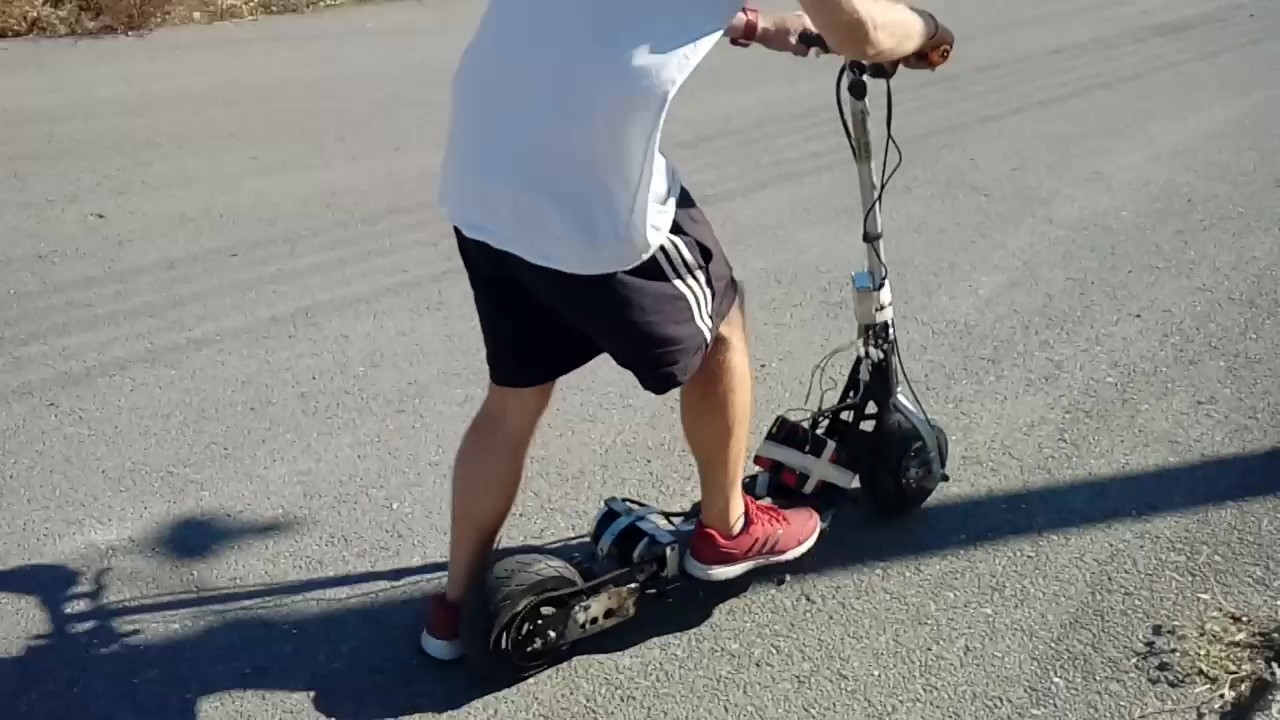
As it turns out 4Ah give a range of 5 miles on this 55lbs scooter at full speed. That is fast considering the size and weight of the batteries. The top-speed is around 25mph on the straight and level.
Cables
Cabling on the control box is a little bewildering with no instructions in the box. Though you can get a wiring diagram off the internet and the connectors are labeled, it is not clear with is the negative or positive terminals. Connecting it wrong makes the batteries spark a lot. Fortunately, Einhell seems to make forgiving batteries. If the chance to up-grade comes along, I will get the 9Ah batteries.
It is all wired up with high-grade speaker wire to cope with the high amperage. The biggest danger with wiring it up wrong, is shorting out the battery. In the best case you kill the battery. the worst case the batteries explode. If you are unsure don’t do it.
Mass
With me as a passenger the total weight goes to 190lbs. The gear ratio is small, making the rear wheel spin as you start. There is a switch that you can add to make it go from the default sport to economy mode, it holds back on the acceleration. It does not seem to make much of a difference to the range. It is never going to be fast enough to enter the TT, but it is a lot of fun.
This post is more an introduction to the video where you can see the progress made in a day. The idea was to slap it together to see if we could get it working and what we needed to add. It will be followed by two more videos to finish off the project.
Retro
Please enjoy the day spent retrofitting the parts in the video as it goes from many pieces to one large part.
Building E-scooter Part-1
https://www.youtube.com/watch?v=TI0_8klAIEo
Building E-scooter Part-2